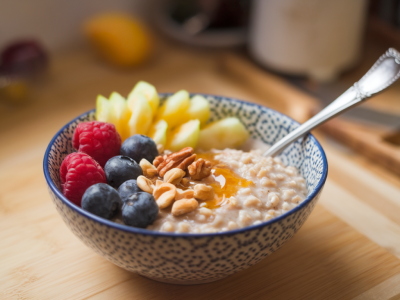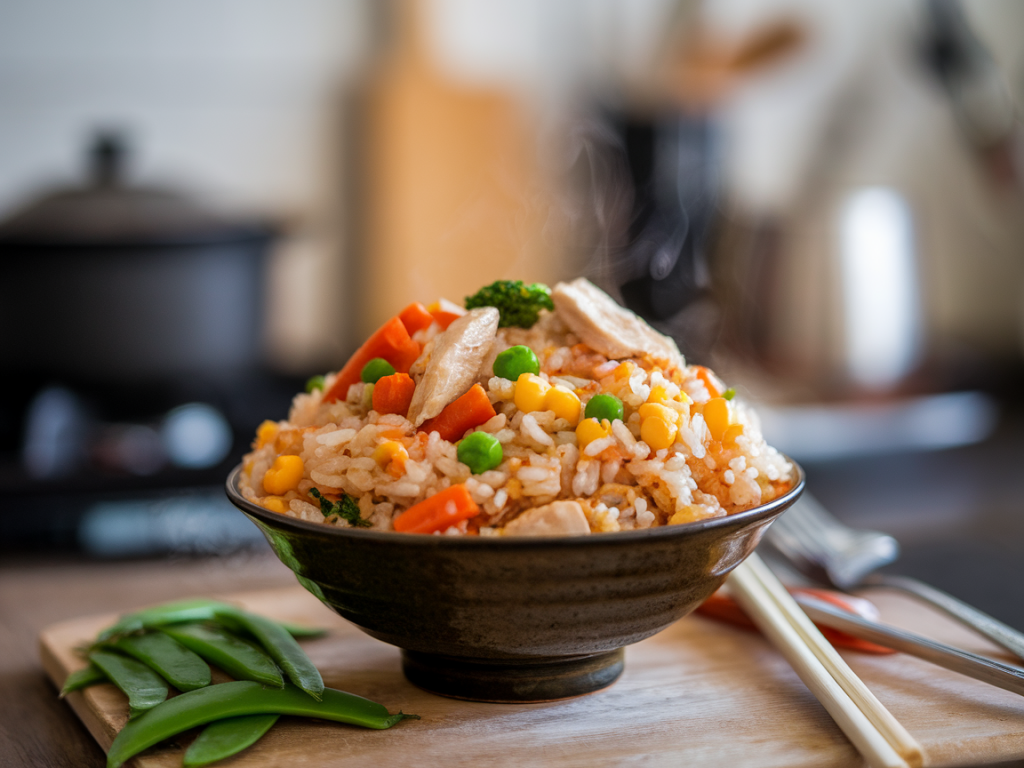
Rice is one of those pantry staples that promises simplicity but too often delivers hassle: soggy batches, undercooked centers, endless rinsing, and the never-quite-right water measurement. Over the years I landed on a one-pot method that removes rinsing, reduces guesswork, and gives reliable rice every time — whether I’m making a weeknight meal for four or batch-cooking for the week. This is the version I use at home, tested across different rice types, pans, and distracted cooks. It’s not fussy, it’s forgiving, and it saves time — which is exactly what Food is not easy is about.
Why a one-pot method?
There are three reasons I prefer a one-pot rice method for meal prep:
The core idea — minimal rinsing (or none), absorb-and-rest
Traditional rice care often includes rinsing until water runs clear to remove surface starch. That’s useful for some preparations (like sushi), but for everyday meals I skip the aggressive rinse and rely on a controlled absorb-and-rest technique. A short rinse or gentle swish is enough if your rice is dusty; if it comes from a reputable brand (think Tilda, Lundberg, or local bagged rice that looks clean) you can often skip rinsing entirely.
The method: brown a little fat and aromatics in a pot, add rice and liquid at the right ratio, bring to a gentle simmer, cover, turn the heat off at the right moment, and let it rest. That short off-heat rest finishes the rice perfectly without monitoring or stirring.
Equipment that works
Ratios and timings — quick reference
Different rice types behave differently. Here’s a table that I keep pinned on the fridge.
| Rice Type | Liquid Ratio (rice : water) | Simmer Time (covered, gently) | Rest Time (off heat, covered) |
|---|---|---|---|
| Long-grain white (basmati, jasmine) | 1 : 1.25–1.5 cups | 8–12 minutes | 10 minutes |
| Short-grain white | 1 : 1.25–1.5 cups | 10–12 minutes | 10 minutes |
| Brown rice (long-grain) | 1 : 2.25 cups | 35–40 minutes | 10–15 minutes |
| Parboiled/converted | 1 : 1.5–1.75 cups | 20–25 minutes | 10 minutes |
These ranges account for variations in brand, elevation, and pot. If you’re in doubt, start with the lower end of the liquid and add a splash next time if it’s undercooked.
Step-by-step one-pot method (stovetop)
Instant Pot / pressure cooker adaptation
Instant Pot fans, this method works there too and is even more hands-off. Use these guidelines:
Toast the rice with oil using the Sauté function first for extra flavor, then add liquid and pressure cook.
What about rinsing?
I’m relaxed about rinsing for everyday rice. A quick swish removes dust and a little surface starch; aggressive rinsing until water is clear is rarely necessary unless you want extra-separated grains (like for sushi or some pilafs). Toasting the rice briefly in oil before adding liquid achieves much of the same effect as rinsing because it limits foaming and stickiness.
Troubleshooting common problems
Meal prep and storage tips
Flavor and serving ideas
One-pot rice is a blank canvas. Here are quick ways I turn plain rice into a meal or a side:
There’s no magic here — just a practical routine that removes the little frictions around cooking rice. Once you lock in a pot you like, a ratio you trust, and the rest-time habit, rice becomes something you can schedule into a busy week instead of a last-minute gamble.